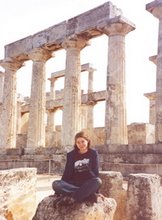
In case you're just tuning in, I'm describing my adventures this summer on an archaeological project in Greece--see the previous two entries for background. We worked at the site Monday through Saturday, with Saturday being a “half” day (we got off at 12:00, which hardly makes it a half day, really). Some weekends were spent relaxing on the beach or sleeping, but often we took the opportunity to travel.
On the second weekend of the project we journeyed into the mountains to the south of Sikyon, to the site of Nemea. We had worked a “half day”, from 6:00 AM to noon, then piled in to our rental cars and beat-up project trucks for the short journey to the site. On the way there, however, we made an important stop.

The Lafkiotis winery is located in Ancient Kleonai, not far from Nemea. Now, Greece, perhaps justly, does not have a reputation for good wine (quite the opposite in fact), but in reality there are many quality wines to be found if you look hard enough. Nemea is a region known for its wine production, which ranges from reputable wineries to homemade stuff sold in re-used water bottles on the roadside. And let me tell you, if you've never had homemade wine from an old water bottle...just don't.
Since our project director was a friend of the owners of Lafkiotis winery, after a brief tour we were treated to a tasting of four different wines. At this point I was feeling a bit woozy, since I had just spent 6 hours working in the sun and hadn’t eaten any lunch…but how could I pass up a free wine tasting? We tried two whites and two reds, and while the whites were good, the reds were really outstanding (this coming from a white wine drinker). The reds were both Agiorgitiko, meaning that they were produced from a variety of grape that are unique to Greece, and had been aged in oak barrels for a year.
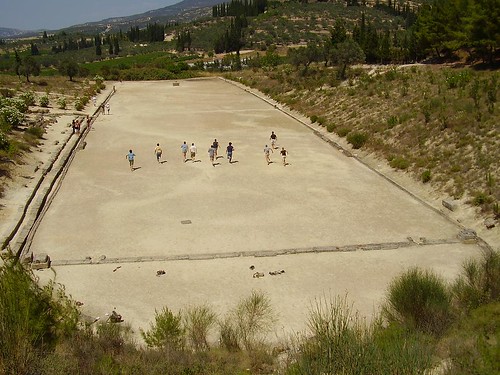
After the wine tasting, we stumbled back to the cars and were on our way to the site of Nemea. During the 6th and 5th centuries B.C., Nemea was home to a temple of Zeus and to famous athletic games, kind of like the Olympics, in which athletes would come from all over Greece to participate. The stadium has been pretty well preserved, and tourists can still run a footrace on it if they want. However, as we found out, unlike ancient Greek athletes, tourists cannot race in the nude and there is a guard on hand at all times to enforce this rule.
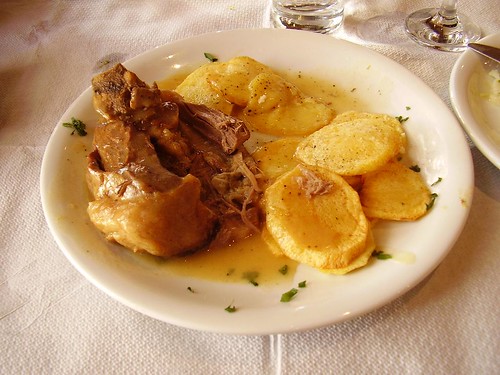
By this point it was 3:00 PM, and having toured the archaeological site in midday heat with nothing to fuel me but wine and some cookies I found in the car, I was fading fast. Thankfully, we at last sat down for lunch in a local restaurant, and my patience was rewarded with a nice hunk of lamb and some lemony potatoes. And more wine. Needless to say I didn't last long after this.
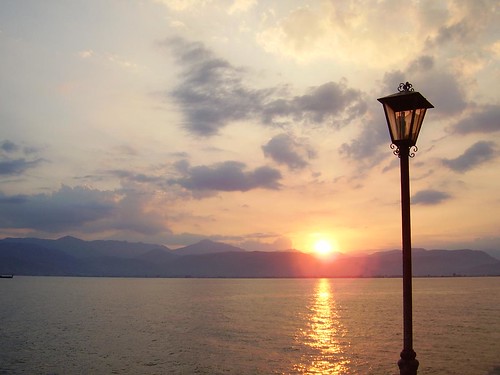
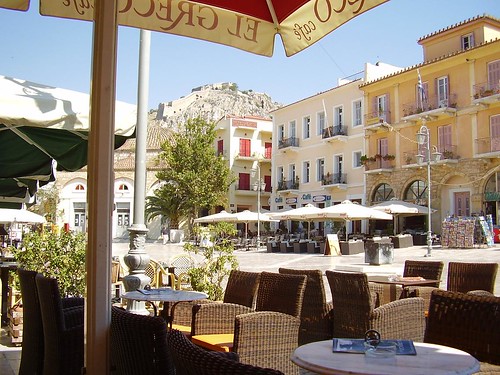

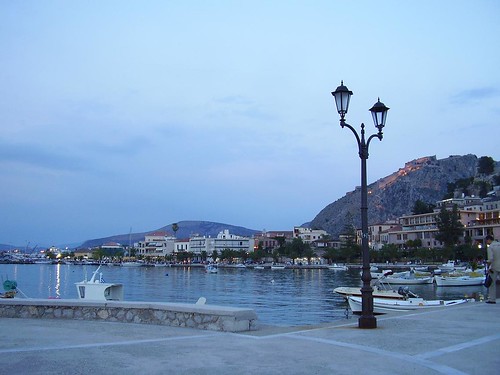
The next weekend it was off to Nafplio, a very nice town in the Argolid region of the Peloponnese. If you are ever in Greece, I highly recommend going to Nafplio. Once a Venetian stronghold, its old town is characterized by lovely Venetian architecture, two imposing fortresses, Turkish fountains, and a large, open plaza where locals and tourists gather in cafes for an afternoon frappe and some people-watching. Add to that decent restaurants and some nice beaches nearby, and you’ve got yourself a great place to spend a weekend.
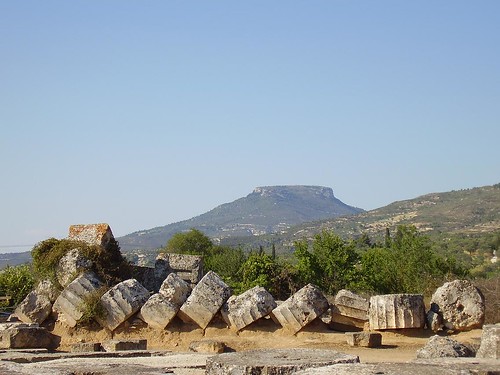
 I’m going to cheat a little and tell you about a trip we took last year to Stymphalos, which, if you remember your Greek mythology, is home to the Stymphalian birds…you know, the ones that Hercules fought as one of his twelve labors…not ringing any bells? In any case, the site is located in a swampy area in the mountains of Arcadia, and doesn’t see a lot of tourists, which is a shame because Arcadia is a lovely place- mountains, orchards, marshes, the kind of place where it suddenly doesn’t seem so implausible that gods were born here and nymphs inhabit the landscape.
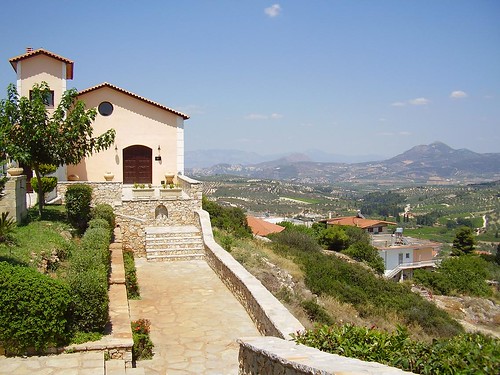
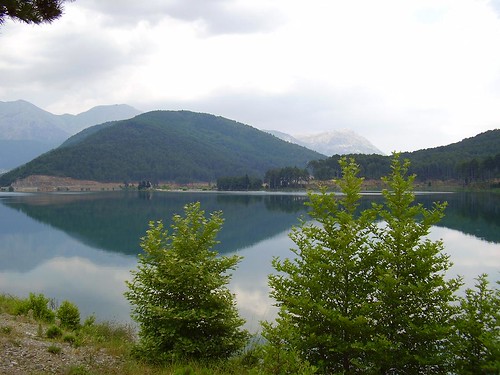
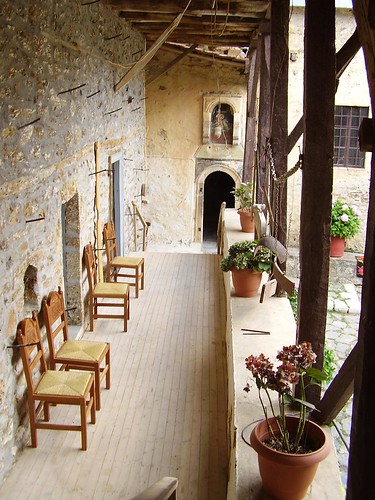
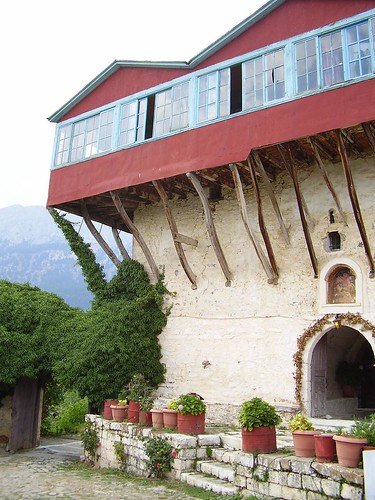
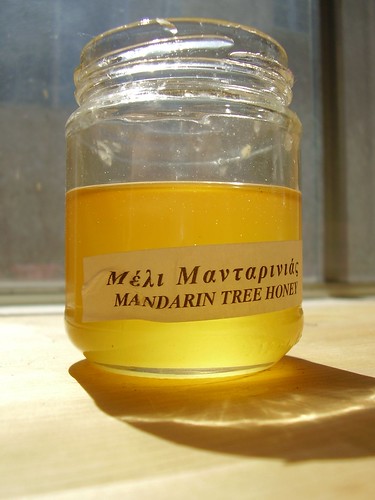
Before making our way to Stymphalos, we stopped at a gorgeous mountain lake for a swim, then headed up to a monastery perched high on the mountain above. The monastery was several centuries old and looked its age, but there were still a few monks living there. When we entered the monastery we were greeted by a monk who offered us cold water and spoonfuls of their monastery’s special product, rose-petal jam-- made from just rose petals, sugar, and water, it was shockingly sweet but very tasty, the rose petals still fresh enough to be a bit crunchy.
A few of us spent the night in the town of Stymphalos, known for its pig farms, the archaeological site, and not much else. Pork was the local specialty, slabs of meat from pigs that had been roasted whole over coals all day. A by-product of this and another local favorite was kokoretsi, grilled pig offal wrapped in intestine…needless to say, I was not adventurous enough to try this.
So much pork…and after a long night on the town in Stymphalos, there’s really nothing like walking out onto your hotel balcony and seeing this first thing in the morning:

See the other installments in this series:

 A beautiful day for a tamale festival. And yes, the name of the festival is grammatically incorrect.
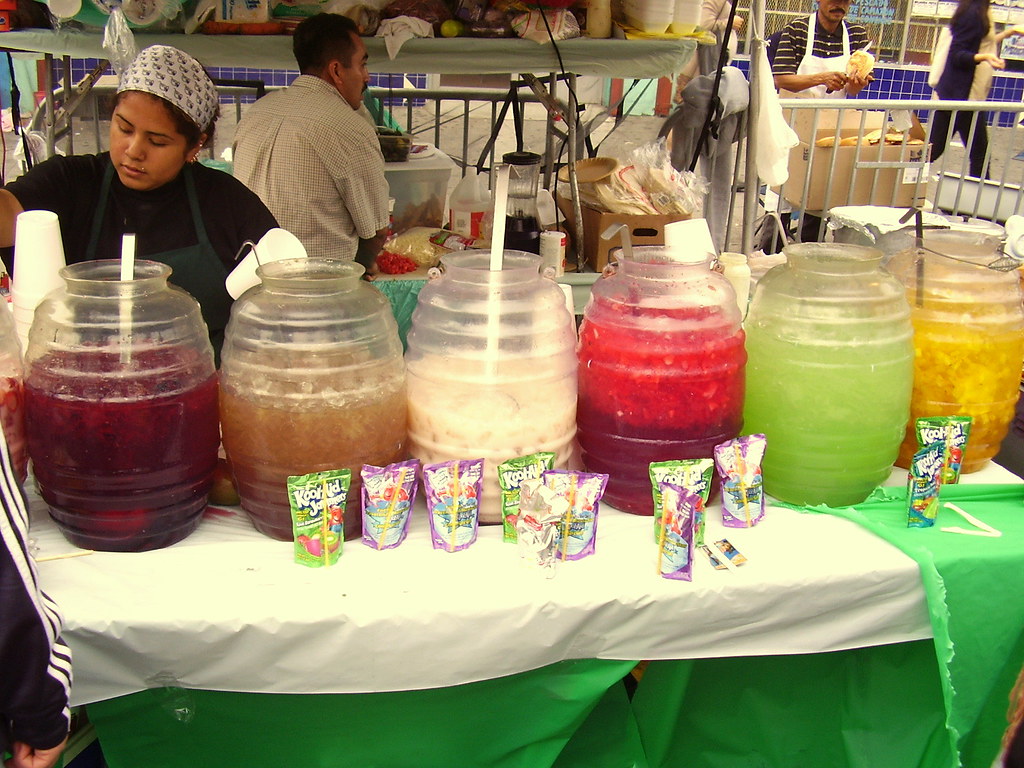 Beverages- Horchata, Tamarind juice, Kool-Aid, etc.
 Beautiful Macarthur Park...it makes this seal sad.
 Bacon-wrapped hot dogs...mmmmm.
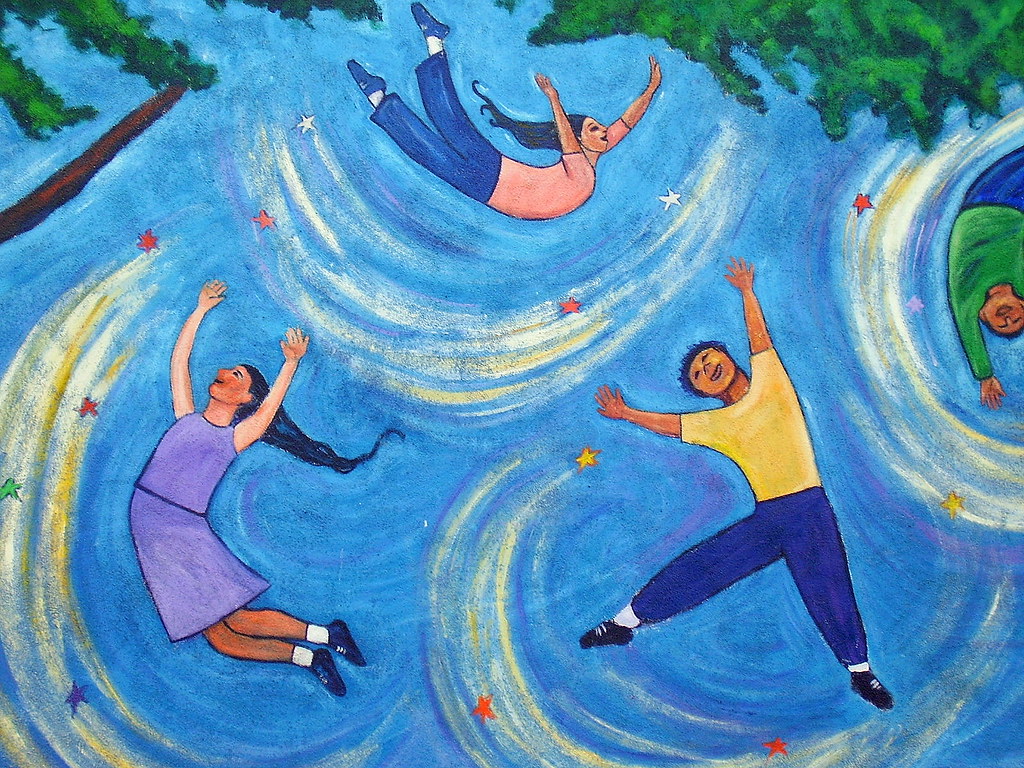 Mural
Mural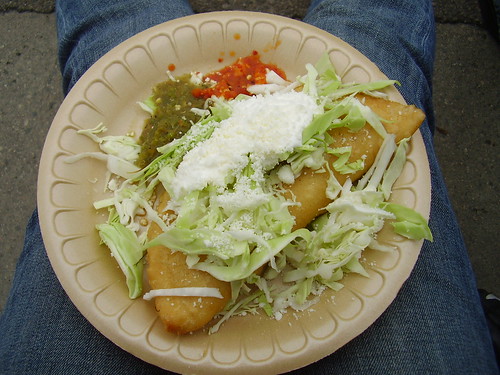 Don't know the name of this dish...we'll just call it "deep fried, with chicken"
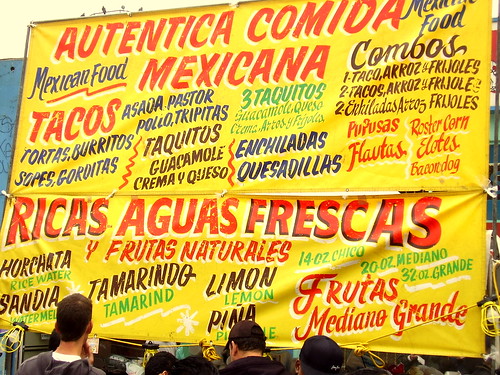
 And finally, the tamales! ...so greasy.


